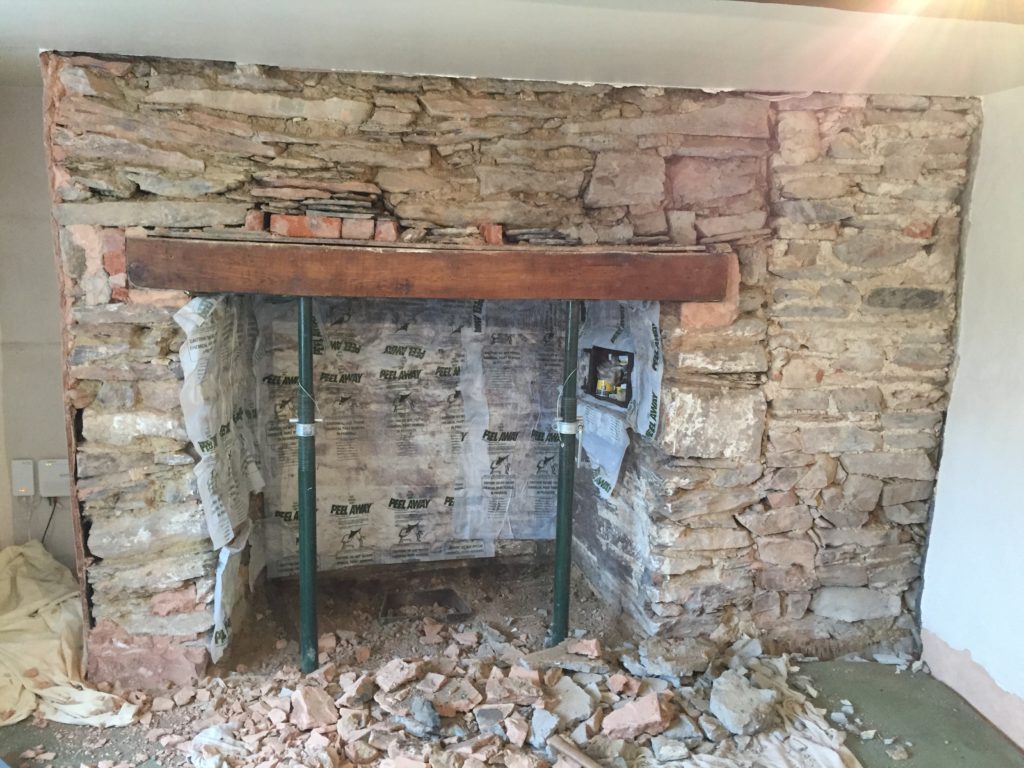
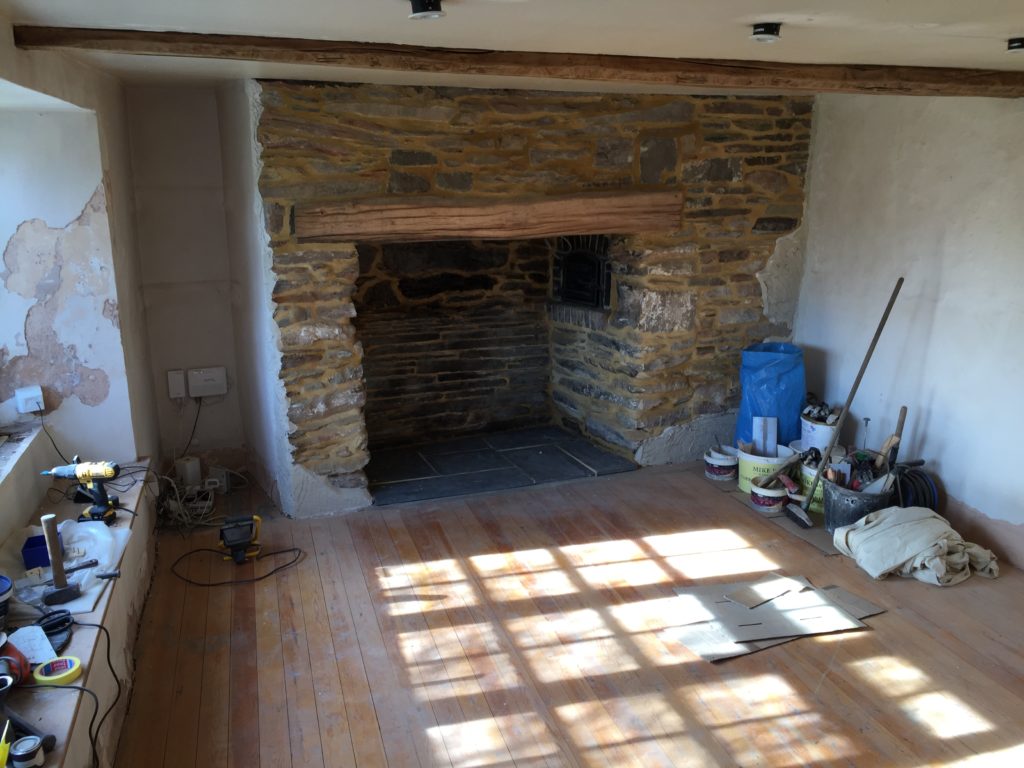
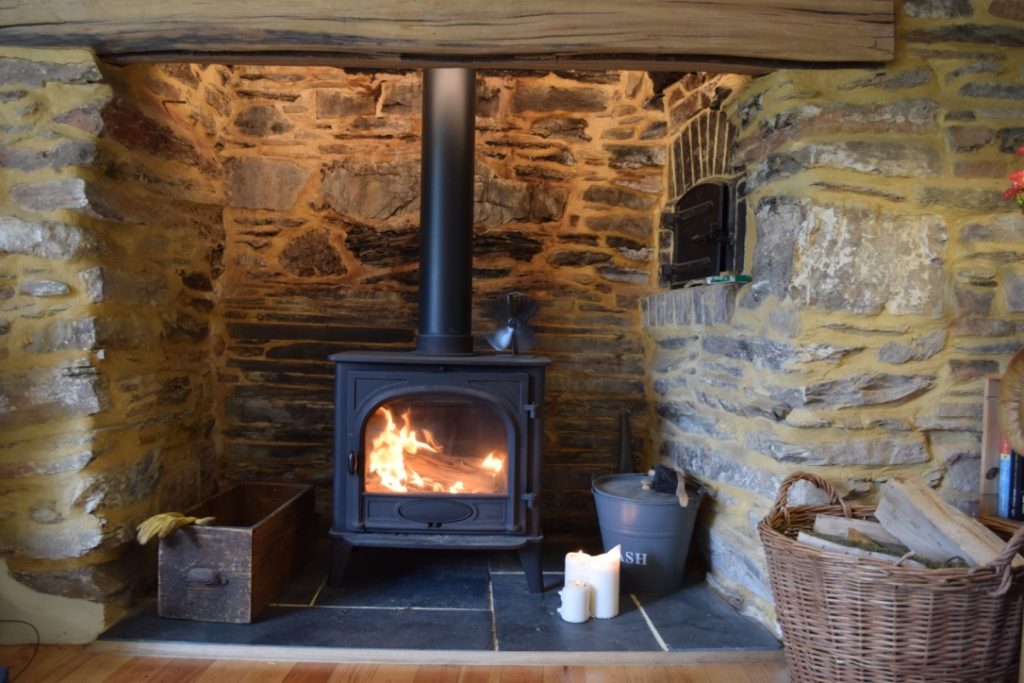
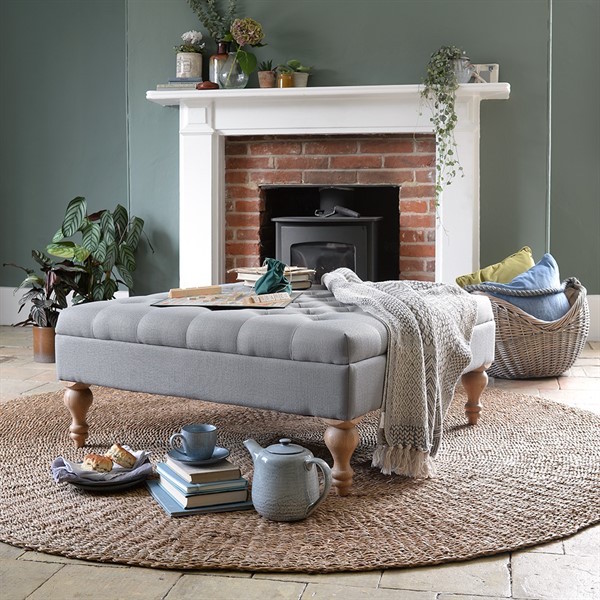
To recap, as it seems to have taken me forever to get part two up on the blog, we ended part one with the room in a little bit of chaos {if you need a reminder you can find it here} we had uncovered the stone, smashed out the hearth and were in turmoil about the unstable beam. Acro-propped up we continued with the work, a professional stone pointer came in to start tapping out the old pointing, most of which I had already taken away, and repoint with a traditional lime mixture to hopefully give everything a little bit of stability.
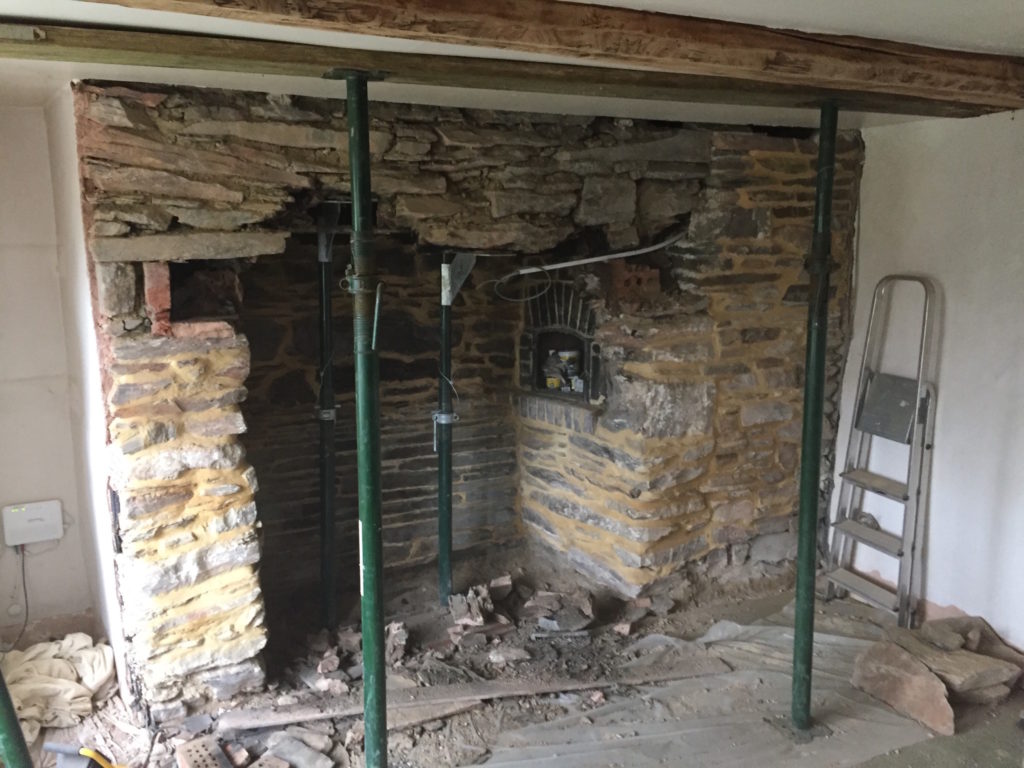
One thing we noticed was how stained the stones on the back of the fireplace were because once upon a time it was an open fire. We know this because the bread oven, {which is admittedly currently used as a cleaning store, whoops!} the small black door on the right-hand side, would have required an open flu unlike the closed ones we have with log burners. Years of soot had therefore accumulated on the stones and whilst we did not want to take the history away, they really did need a bit of a clean-up so we purchased a stone cleaner. Basically, it was a paste that we covered the stones in and then put a film on top to let it work over night, the next few joyous days I spent scraping this off. :/
For anyone thinking of doing something similar I wouldn’t necessarily recommend this if you have natural stone like ours. For flat or polished stones, I’m sure it would work perfectly but due to the bumps, lumps and crevices it was a nightmare to get off. Yes, it did the trick but my goodness was it hard work!
But stones now clean we had to address the beam situation. {Isn’t it funny how sometimes things just come out of nowhere and this is exactly what happened with finding ‘the beam’}. In a previous blog post all about lambing I mentioned my Aunt and Uncles farm here on Exmoor, one Sunday afternoon we had gone up for a roast and was discussing the work we had been doing. Without hesitation, my uncle said, “I’m sure we have something that could work” – completely surprised we followed in anticipation out into the fields until we reached a gate where we saw a huge log sitting on the floor. It was apparently due to be a gate post and had been felled longer than I have been alive but if we wanted it, it should do the job! BINGO! After checking a few measurements, we returned to collect it a few days later. It may sound silly, after all its just a piece of wood but this meant (and still does) a lot to Matthew and I as our visits to the farm are one of the reasons that brought us back to Exmoor. So, having a small{ish} piece of it in our home means the world. We carved it into a square shape so it would fit and now this was all sorted, the rest of the pointing and rebuilding stone work could continue.
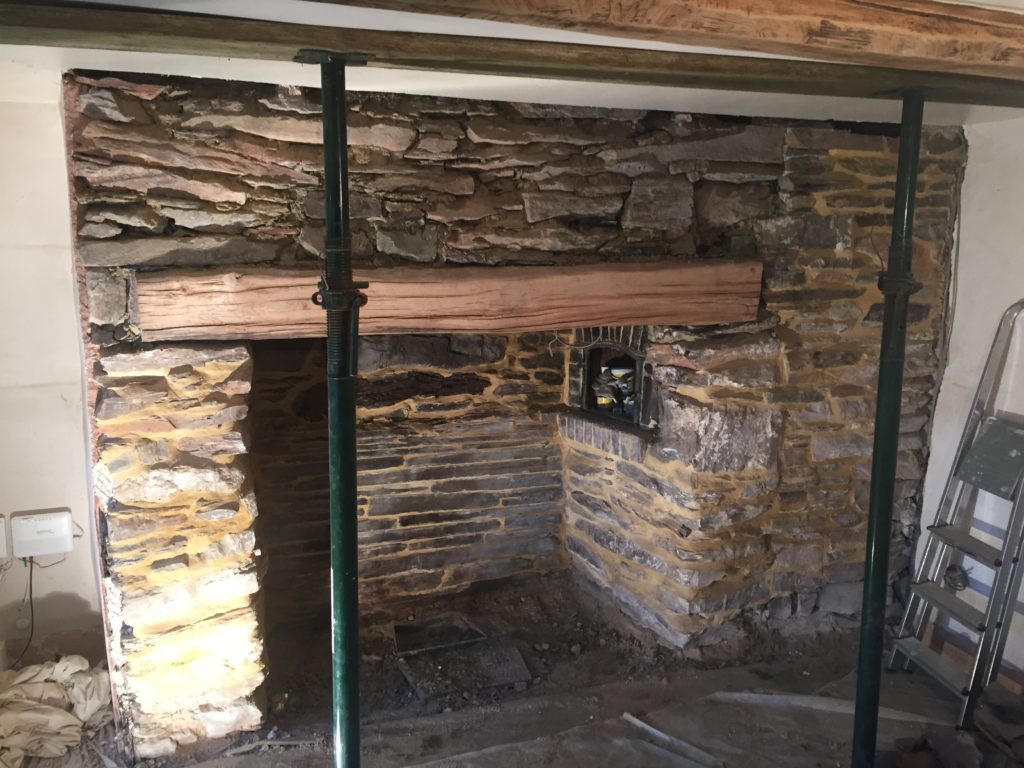
Final thing on the fireplace was to get the hearth sorted. I mentioned in part one we had smashed out the current crazy paving and lowered the area so the log burner would now sit on the floor. A few pieces of slate cut to fit the wonky angles and it was complete… probably the simplest job of them all so far!
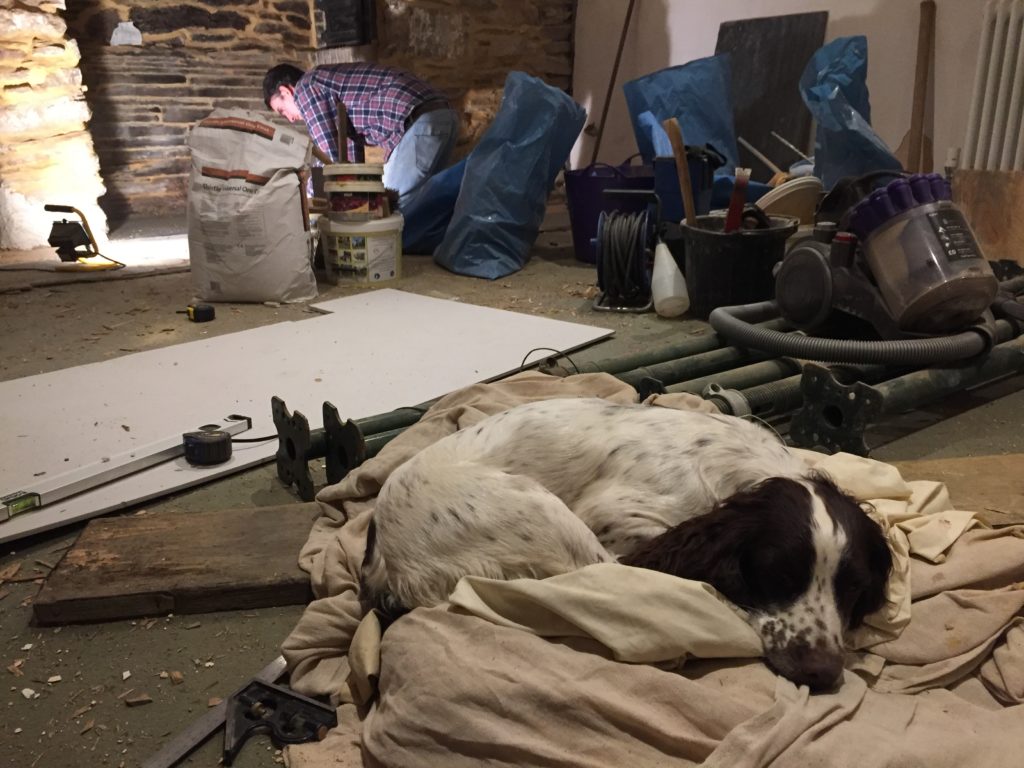
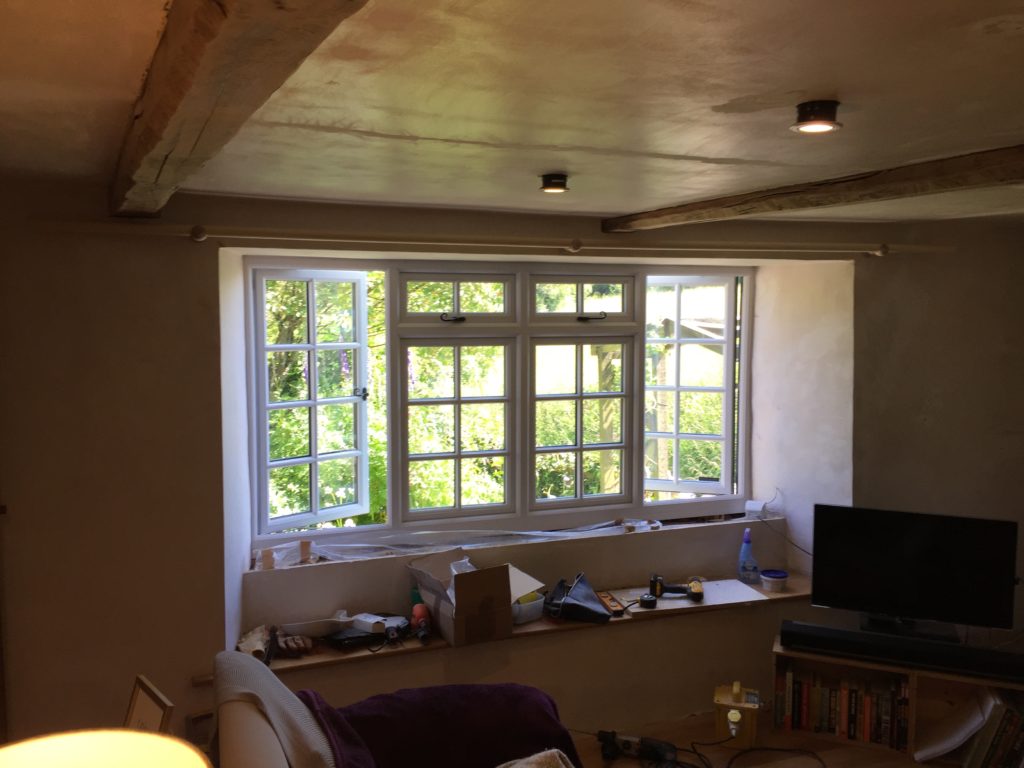
The fireplace now almost finished it was time to focus on other bits of the room. So, I sanded down the dark beams to bring out a more natural colour and simply used an Osmo oil to reseal and protect the wood. New double glazing had also been installed in the room, honestly can’t describe how cold it was with single glazing you could literally feel a breeze through every window pane.
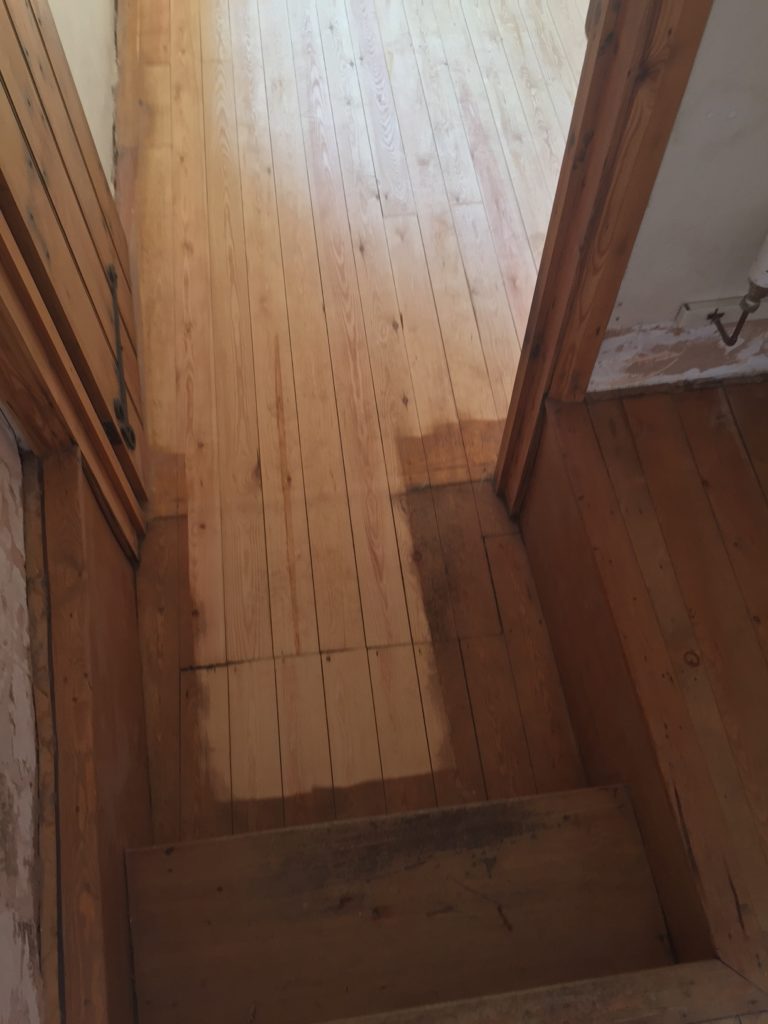
We also booked in to have the floors sanded and resealed, whilst we loved the colour that they currently were the carpet on top had left large patches of foam and tape glued on, so was forced to sand it all down.
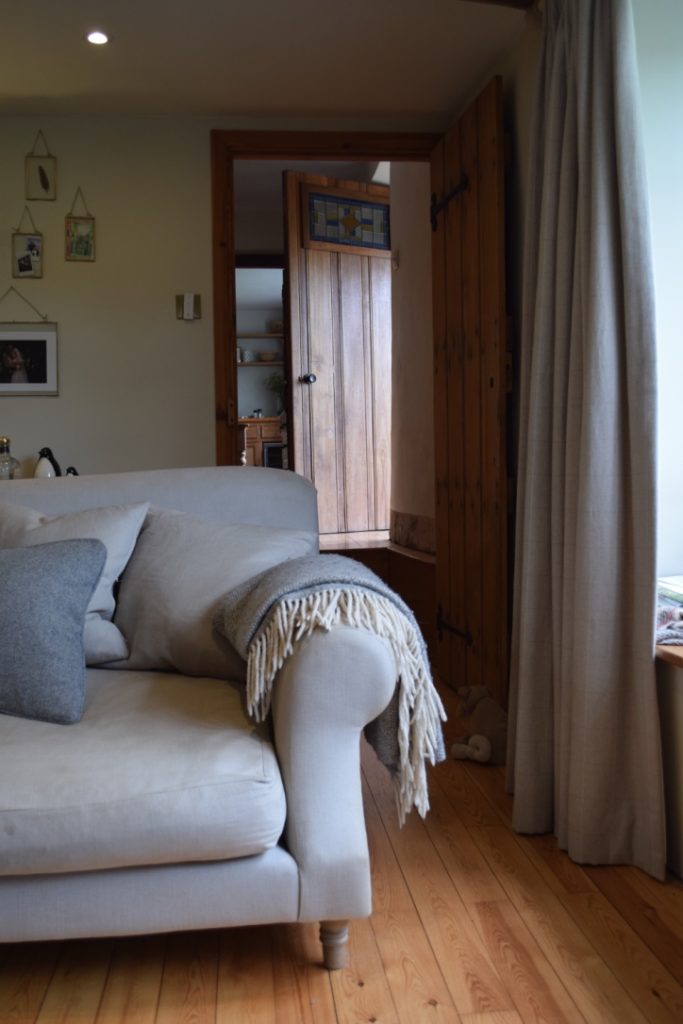
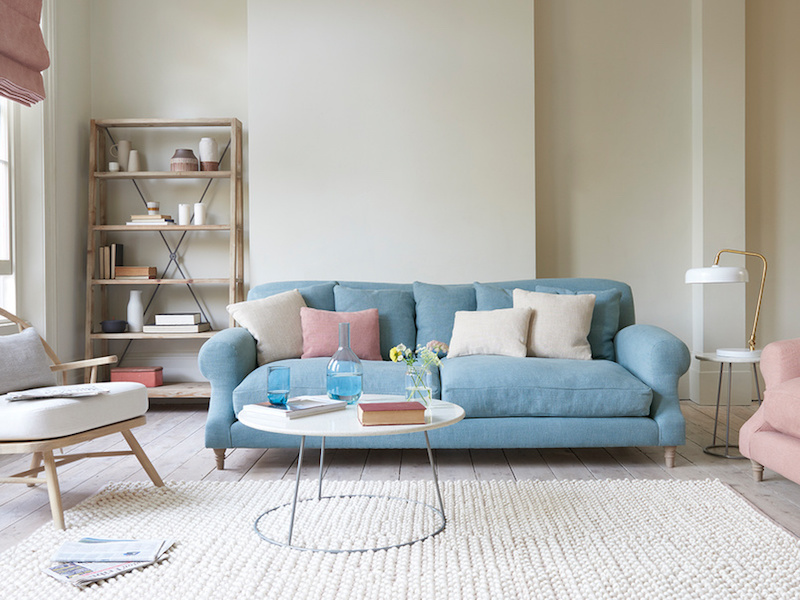
The walls were also in a state to which they could be painted, hallelujah! There was quite a bit of filling and sanding that got us to this point but I had decided on the colour months ago so was glad to finally get started. We went for a neutral tone with Clunch for the walls and Pointing (a more yellow white) for the woodwork both by Farrow and Ball. Add the sofa of dreams from Loaf, some side tables, a coffee table and rug … et voilà!
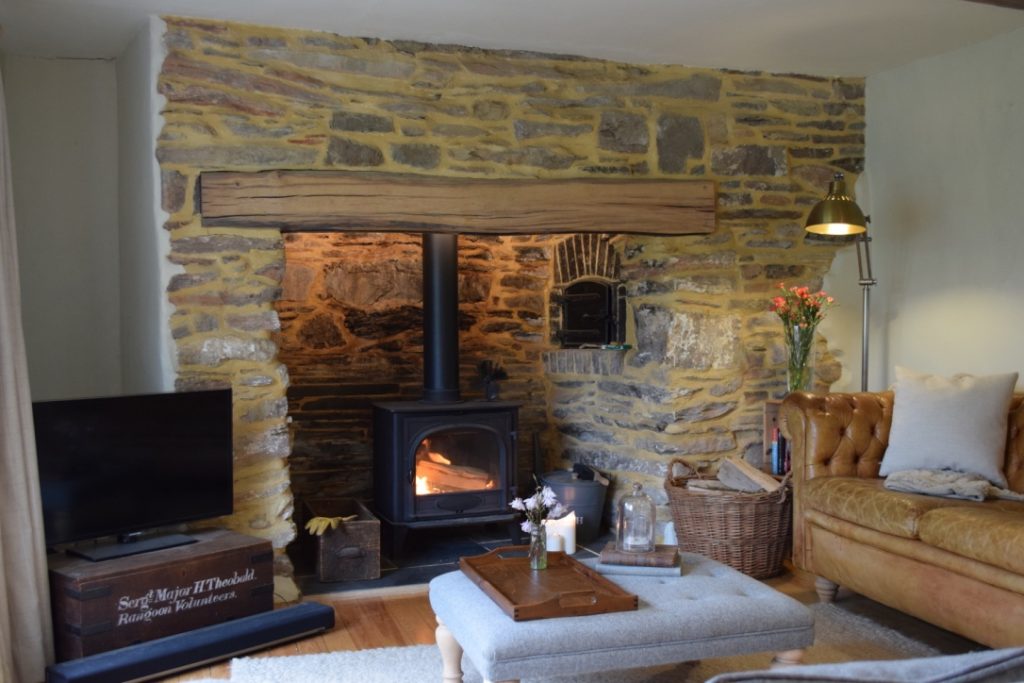
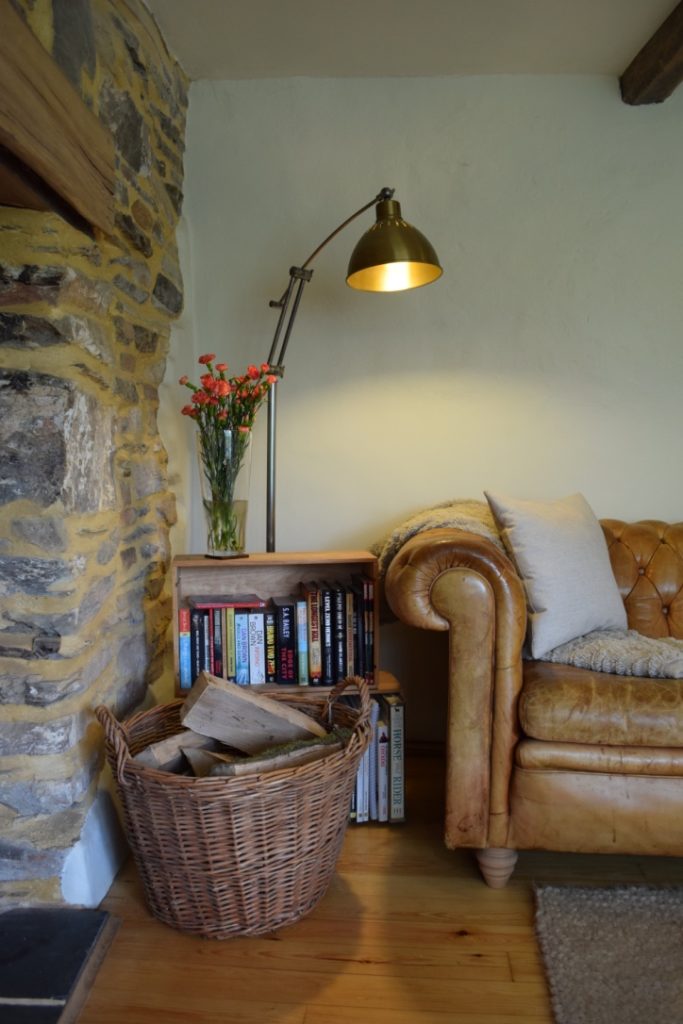
Don’t get me wrong we still have plans for this room some trim needs to go on and a cupboard and shelves built in the alcove to the side of the fireplace but its nearly there and feels like home. Sorry for a long post, honestly forgot how much we have done in this room. Any questions please feel free to ask away.
Yours
Daisy x
Shop My Style…


The room looks so great. That was so much work! You guys are amazing for doing it yourself!!
Thank you so much! It was a long slog but so glad we did most of it ourselves simply because we appreciate it more and feels more personal.